Universal Tool Microscope
Model No.︰19JC/19JPC
Brand Name︰CSOIF
Country of Origin︰China
Unit Price︰CNY ¥ 88000 / set
Minimum Order︰1 set
Product Description
|
13
|
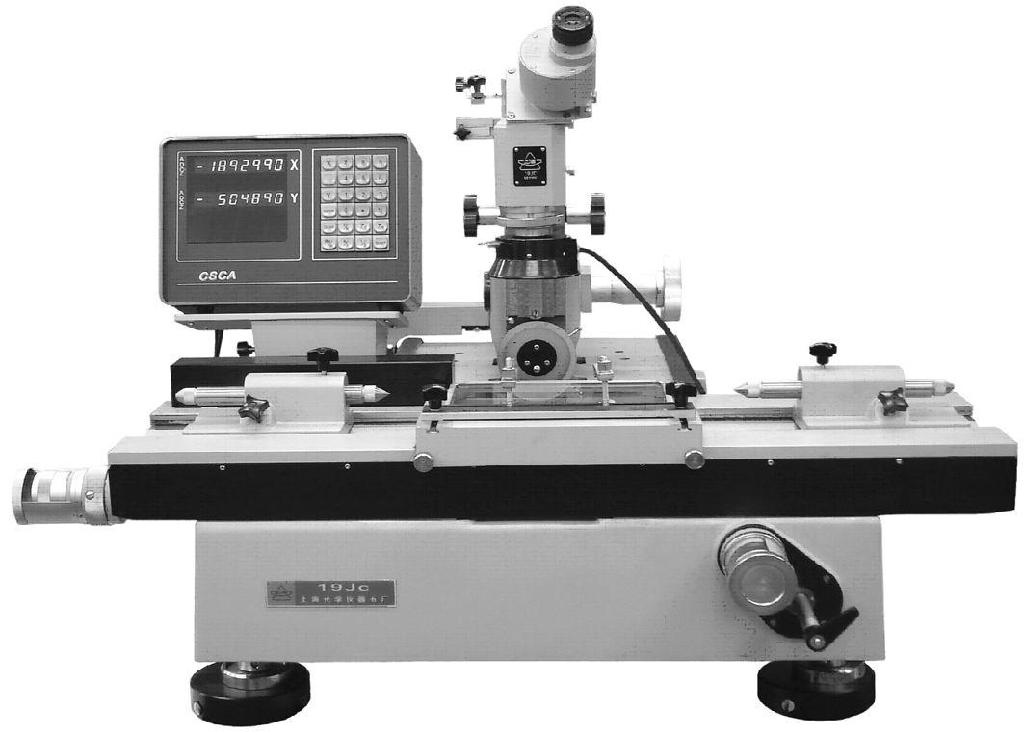
Digital Universal Tool Microscope
|
19JC
|
X-Y axle 200×100mm,with grate digit display, Min. display 0.0005mm,circle division 1′
|
124000.00
|
Universal Tool Microscope 19 J Series
Classify type of measuring instrument; 19JC nearly contains all measures of testing geometry. With complete function, high precision, convenient operation and durability, this instrument is normal equipment in precise machinery field, effective testing gist for measure & examination dept., and right hand of science research and teaching field.
Adopting grating subdivision and digital technology, 19JC has the characters of direct reading and good consistency, which greatly improves work efficiency and further enlarge use range.
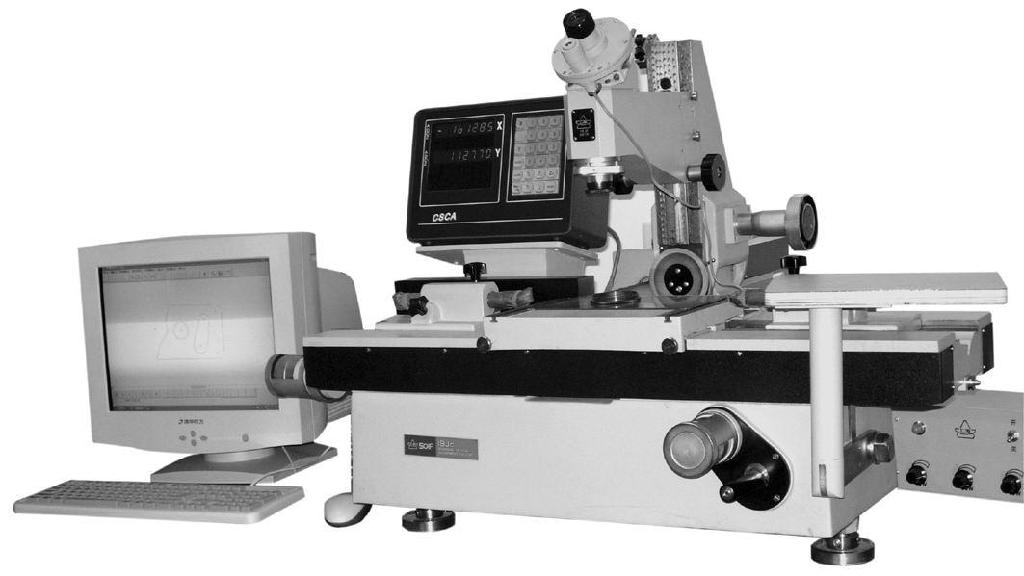
Digital-display device of this instrument has data output interface, which may be extended to contact with planar data gather and computer measure operating system to upgrade as 19JPC microcomputer-type all-purpose tool microscope.
Universal Tool Microscope (Digital) 19JC
Projection of the 19JA million workers improved
significantly, the use of sub-gratings and digital technology,
intuitive readings and consistency with good characteristics
such as increased efficiency, to further expand the scope of
the use.
Instrument Digital Interface data output table can be extended to connect two-dimensional data acquisition system and computer measurement of the operating system to upgrade its computer-based universal tool 19JPC microscope.
19JPC micro computer universal tool microscope
19JPC micro-computer type all-purpose tool microcomputer is a new generation of all-purpose tool microcomputer used in computer assistant measure, which can solve each kind of complicated planar measuring problem. Traditional all-purpose tool microscope can not directly measure geometrical element in field of view, such as center of circle, midpoint, point of intersection, midline, and their distance, included angle and so on are hard to measure. But these are easy to do in 19JPC. This instrument adopts precise grating sensor, PC series and data interface gather to measure data, carry on data processing with 19JPC planar measuring program, display and print result. It is convenient to operate, only keying measuring command according to graphic menu displayed on screen. During the course of measuring, color display can timely display the coordination of collimated work piece. Rectangular coordinate or polar coordinate may convert at any movement, which is especially convenient for measuring polar coordinate and cam. This instrument adopts metric system and British system. Calculating precision may reach 0.0001mm and 0.00001inch.It may self-correct assemble error of worktable track, further improving measuring precision.
Complete sets of instrument
1. Mainframe: digital all-purpose tool microscope 19Jc
2. Planar data gather
3. Planar measuring computer operating system (software)
4. Micro-computer and printer
1. Mainframe: digital all-purpose tool microscope 19Jc
2. Planar data gather
3. Planar measuring computer operating system (software)
4. Micro-computer and printer
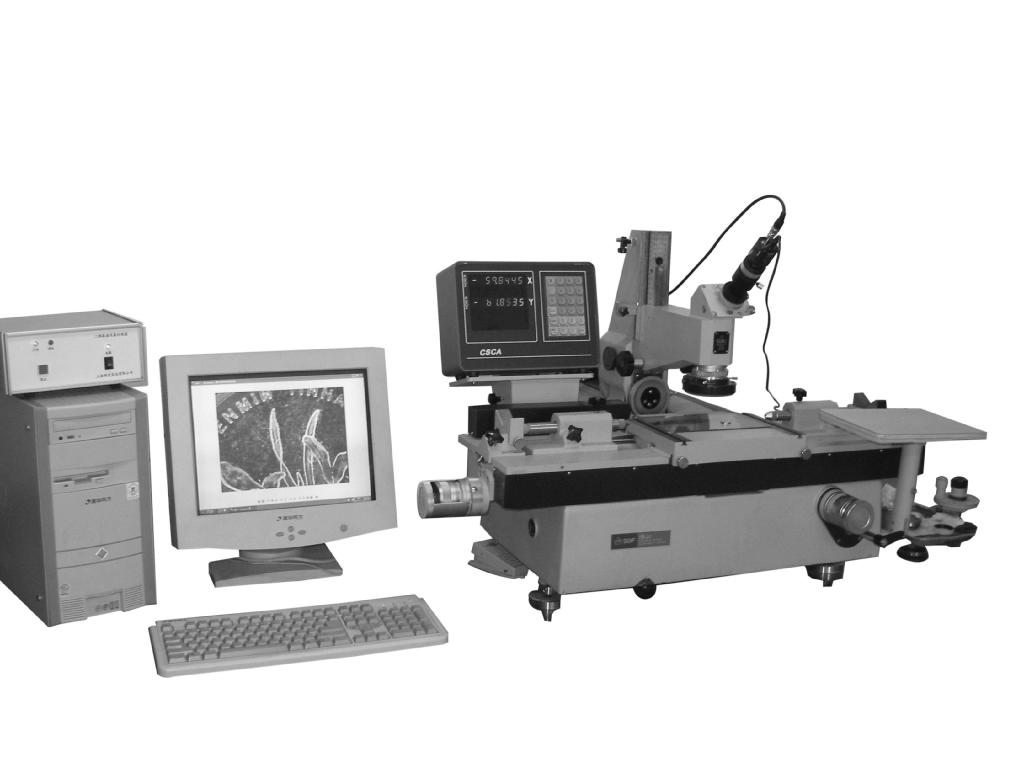
Universal Tool Microscope(Image)19JPC-V
19LPC-V image-type all-purpose tool microscope is a new added image measuring system on the base of preserving all-purpose tool microscope performance. This system uses vision and special-purpose optical objective to substitute human’s eye to collimate and save video graph. Adopting electronic magnifier its zoom multiple is greatly improved and it is convenient to observe small work piece and precisely measure. Depending on high-precision track of all-purpose tool microscope, this system may realize high-precision image measuring in real meaning.
Image measuring parts optical objective lens
|
magnification
|
Total magnification
|
Objective view field
|
Working distance(mm)
|
|
3x
|
25x
|
Φ6
|
110
|
|
5x
|
37x
|
Φ4
|
95
|
Whole set of instrument
1. Mainframe: digital all-purpose tool microscope 19JC
2. Data gather
3. Planar measuring software
4. Brand computer and HP color ink-jet printer
5. Image measuring groupware (lifting arm, video-cam., and graph catcher)
6. Image measuring software
1.Main technical specification of universal tool microscope
Measuring range and division value X-Y-coordinate
Measuring range 200×100㎜ Division value 0.0005㎜
Collimation microscope Lifting distance: 120mm
Arm of force inclining range: both 15°left and right Division value: 10′
Illumination grating adjusting range: φ3~φ32㎜ Division value:1㎜
Clinometers eyepiece Angle measuring range: 360° Division value: 1′
Figure eyepiece Angle measuring range: ±7° Division value:10′
Circulate arc recircle Curvature radius: R0.1~100㎜
Screw recircle Common screw distance t = 0.25 - 6㎜
Trapezium screw distance T = 2 - 20㎜
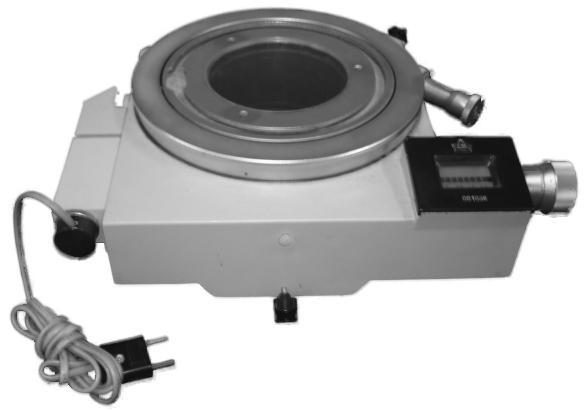
Optical indexing table Measuring range: 360° Division value:10″(projected value)
(Optional) Diameter of glass table φ106㎜
Optical dividing head Measuring range: 360°Division value:1′
Optical localizer Diameter of measuring headφ3±0.1㎜
(Actual high-point diameter error can not more than 0.5μm.)
Measuring force 8 - 14g
Max. measuring depth 15㎜
Glass worktable Glass worktable dimension: 215×130㎜
Thimble bracket Max. clamping diameterφ100㎜
Max. clamping length: diameter of tested part≤ 55㎜, 750mm
diameter of tested part > 55㎜, 600mm
High thimble bracket Max. clamping diameter: φ180㎜
Max. Clamping length: 600mm
V-type bracket:
Left V-type bracket front and behind adjusting range: Both 5mm front and behind.
Right V-type bracket upper and downward adjusting range: Upper 15mm / Downward 3mm
Max. Carrying Capacity: 40kg
2. Optical parameter of collimation microscope
|
Tag value of objective’s zoom multiple
|
1x
|
3x
|
5x
|
|
|
Total zoom multiple
|
Clinometer or figure eyepiece
|
10x
|
30x
|
50x
|
|
Double-image eyepiece
|
15x
|
42x
|
65x
|
|
|
Field of view(mm)
|
Clinometer or figure eyepiece
|
φ20
|
φ6.6
|
φ4
|
|
Double-image eyepiece
|
φ13
|
φ4.7
|
φ3
|
|
|
Working distance(mm)
|
Clinometer or figure eyepiece
|
81
|
90
|
65
|
|
Double-image eyepiece
|
47
|
85
|
63
|
|
3. Instrument precision
Temperature requirement (1) Workroom temperature should be 20 ± 2 ℃.
(2)Workroom temperature change can not exceed 1 ℃ per hour.
(3)Tested part and instrument temperature difference can not exceed 0.5 ℃.
In the condition of meeting all temperature requirements, the instrument has the following guarantee:
(1)X-Y-coordination: When using glass millimeter ruler to examine, the Max. Un-precision of the instrument is (1 + L / 100)μm. L: Measuring length. Unit is mm
When the ruler corrects according to correction table, X-direction can not be more than 0.0035㎜. Y-direction can not be more than 0.0025.
(2) Clinometers eyepiece: Max. un-precision: not more than 1′.
(3) Double-image eyepiece: Instability of imaging: not more than 0.0005㎜
Incorrectness of imaging: not more than 0.001㎜.
(4)Optical dividing head: Max. un-precision: not more than 1′.
(5)Optical indexing table: Max. un-precision: not more than 30″ (optional).
(6)Optical graduator: Instability of measuring: not more than 0.001㎜.
Incorrectness of measuring: not more than 0.0015㎜
4. Weight of instrument and overall dimension
Mainframe net weight: 250kg
Overall dimension: (L ×W × W):980 ×1020 ×640 mm
Payment Terms︰ T/T
Product Image


